.svg)

You now have more customisation options with the emails that get sent to your learners. Our newest feature, Email Editor, lets you remove VerifyEd branding and write your own content in the emails that get sent to your learners.
Simply head to the ‘Automation’ tab on your VerifyEd dashboard and scroll down to the ‘Emails’ section where you will see you have the option to customise two emails:
- Welcome email - Sent to learners when their first certificate is issued to them and their VerifyEd account is created
- New Certificate email - Sent every time a certificate is issued to a learner, after the initial certificate.
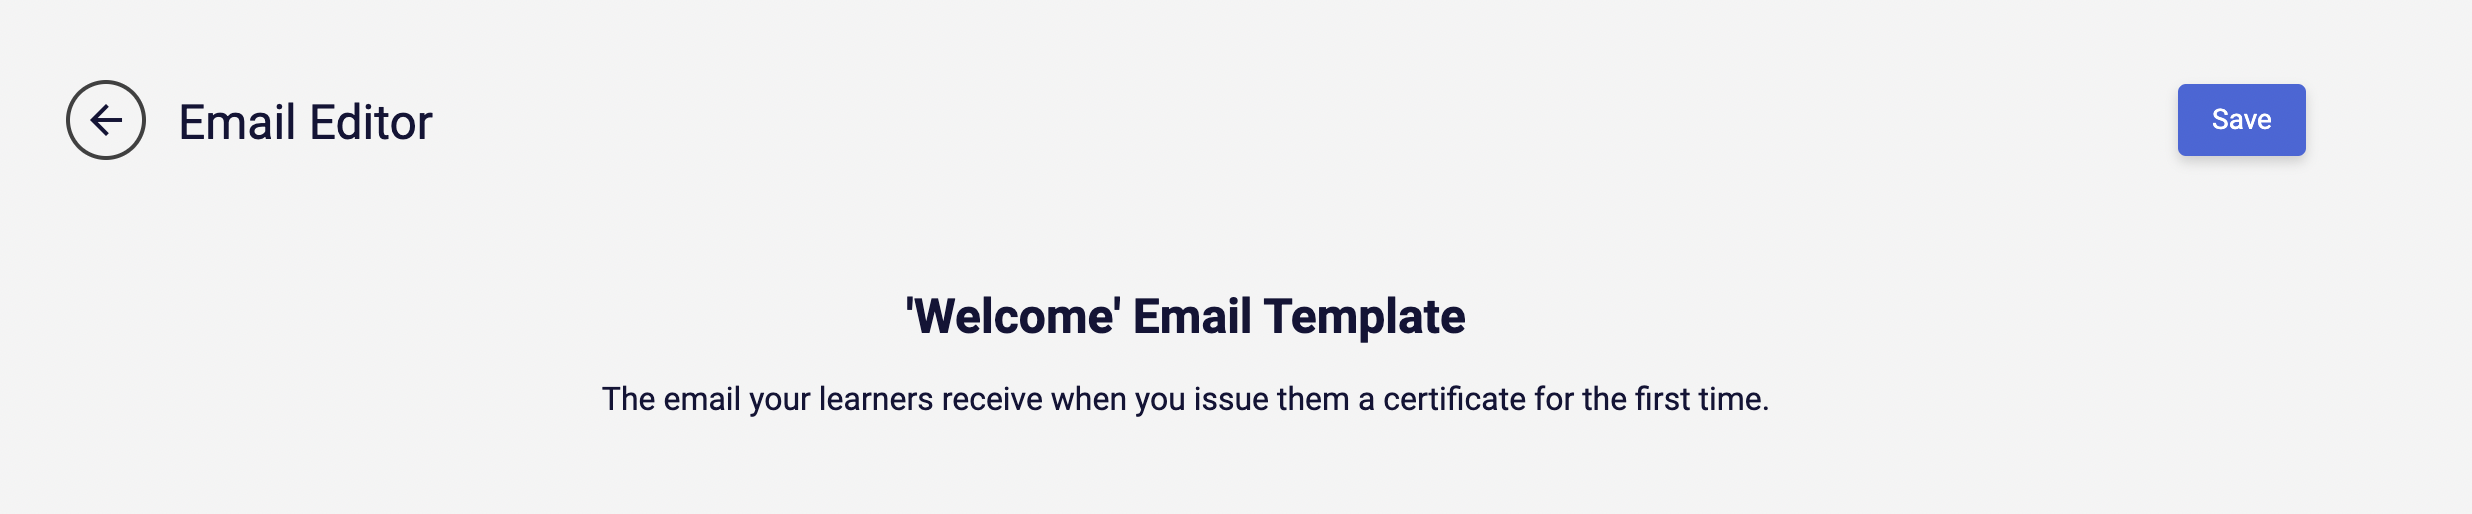
Click the pencil icon next to the email you would like to customise.

You will then be taken to the Email Editor for that email.
.png)
From the Email Editor you will be able to:
Plus you can also request to change the ‘From’ Name and Address to your domain.
Editing the email
Using the editor you can change any content of the email, including the:
- subject line
- header
- body
- button
Simply click on the area you would like to update, e.g. the subject line or the email content block, and make the changes you would like using your keyboard.

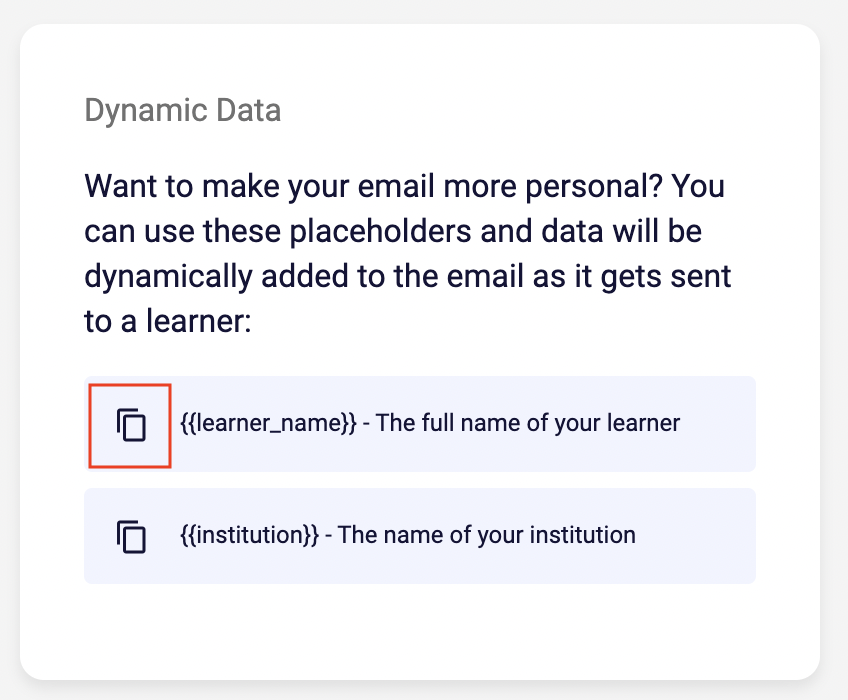
You can also add in more personalisation to your email e.g. the learners name, or the name of your institution. Just click the copy button next to the dynamic field you want to use, and place it where you want it in the email.

Hiding the VerifyEd logo
You can now remove the VerifyEd logo on these emails. Simply uncheck the checkbox ‘Show VerifyEd logo on your email’ and the VerifyEd logo will disappear from the email, and only display your logo.

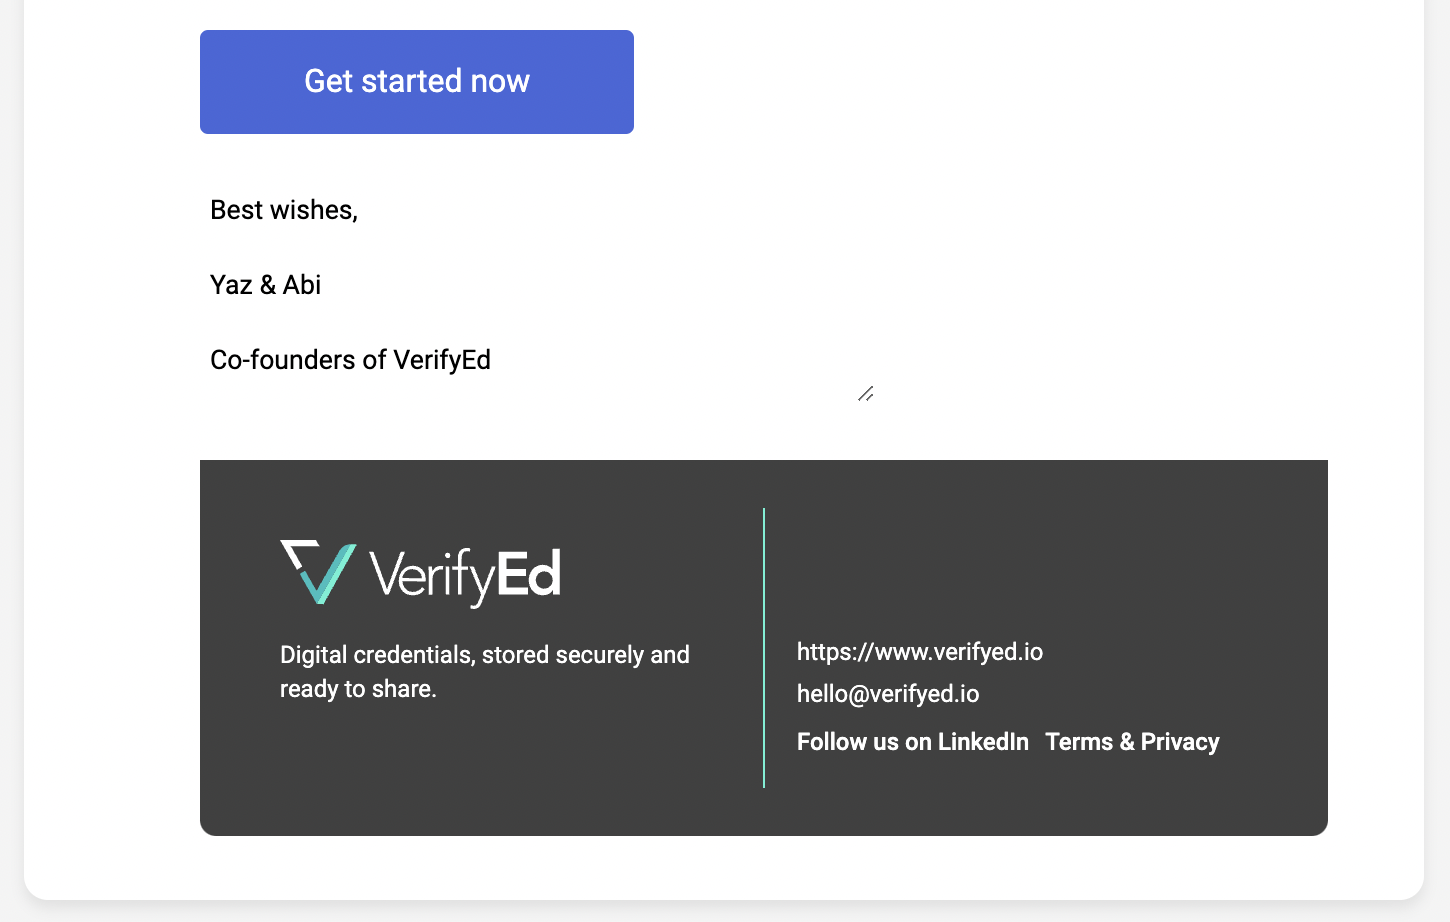
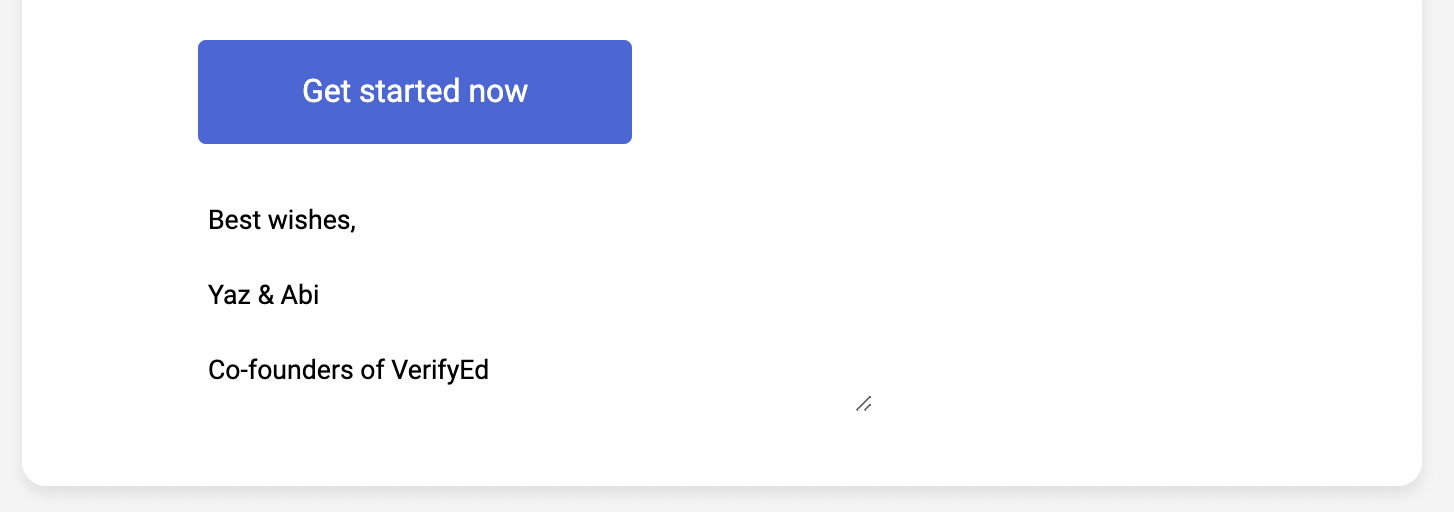
Hiding the VerifyEd footer
Likewise, if you would like to hide the VerifyEd branded footer, uncheck the checkbox ‘Show the footer on your email’ and the footer will be removed from your email.
Remember to save!
Once you are happy with the changes you’ve made, remember to click ‘Save’ in the top right corner of the editing page.
Once you’ve saved changes, your emails will send with the changes you have made.
Changing the From Name and Address
As well as the content of the emails, you can also send the emails from your institutional email address e.g. hello@middlesex.ac.uk instead of hello@verifyed.io, giving you more control and your brand more visibility.
In order to set this up, you will need to add some DNS records (that we will provide) to your website domain. This is straightforward to do but may involve your IT team, or the person who is responsible for hosting your website. Once they have been added and verified, the VerifyEd platform will be able to send emails using your domain name on your behalf.
If you would like to get this set up, email us at hello@verifyed.io or contact us via Support in the platform and we will send you the DNS records to add to your website domain.
We hope you enjoy using our Email Editor and enjoy the extra control and increased brand visibility it gives you.


.png)

